How to Make Reflective House Numbers? 🌟

Creating reflective house numbers is a practical and stylish way to ensure your home is easy to locate, whether it’s for guests, deliveries, or emergency vehicles. Reflective house numbers not only provide functionality but also add a touch of modernity to your home's exterior. Here’s a step-by-step guide to help you make reflective house numbers that stand out, along with some tips on choosing the best materials and designs.
✨ Step 1: Choose Your Materials
To craft reflective house numbers, you’ll need the right materials. Here are some popular options:
- Reflective Number Stickers: Pre-cut reflective number stickers, such as 3-inch or 4-inch reflective house numbers, are a quick and easy option. Look for adhesive numbers designed for outdoor use.
- Reflective Paint: Use reflective paint for house numbers to create a custom design. This works well on metal or wood surfaces.
- Metal Reflective House Numbers: Opt for sleek metal reflective house numbers for a durable and modern look.
- Reflective Magnetic Numbers: These are perfect for temporary use or if you want to easily reposition your numbers.
- Plastic Reflective Numbers: Lightweight and weather-resistant, these are great for mailboxes or curb signs.
✨ Step 2: Select the Size
The size of your house numbers is crucial for visibility. Common sizes include:
- 3-inch reflective house numbers: Ideal for mailboxes or smaller surfaces.
- 4-inch reflective house numbers: A versatile size suitable for most homes.
- 6-inch or 8-inch reflective house numbers: Perfect for larger homes or curbside visibility.
✨ Step 3: Prepare the Surface
Before applying your reflective house numbers, make sure the surface is clean, dry, and smooth. This ensures proper adhesion and longevity.
- If you’re attaching numbers to a mailbox or wall, wipe it down with a damp cloth and let it dry completely.
- For curb applications, clean the curb thoroughly and consider applying a base coat of paint for better contrast.
✨ Step 4: Apply the Numbers
Now it’s time to attach your reflective house numbers:
- Adhesive Numbers: Peel off the backing and carefully align the numbers. Use sticky tabs for easy peeling and pre-cut designs for effortless alignment.
- Reflective Paint: Stencil your numbers onto the surface and apply the reflective paint evenly. Allow it to dry completely.
- Metal or Plastic Numbers: Use screws or strong adhesive to secure the numbers in place. Ensure they’re level and aligned properly.
✨ Step 5: Add Finishing Touches
To enhance the appearance of your reflective house numbers:
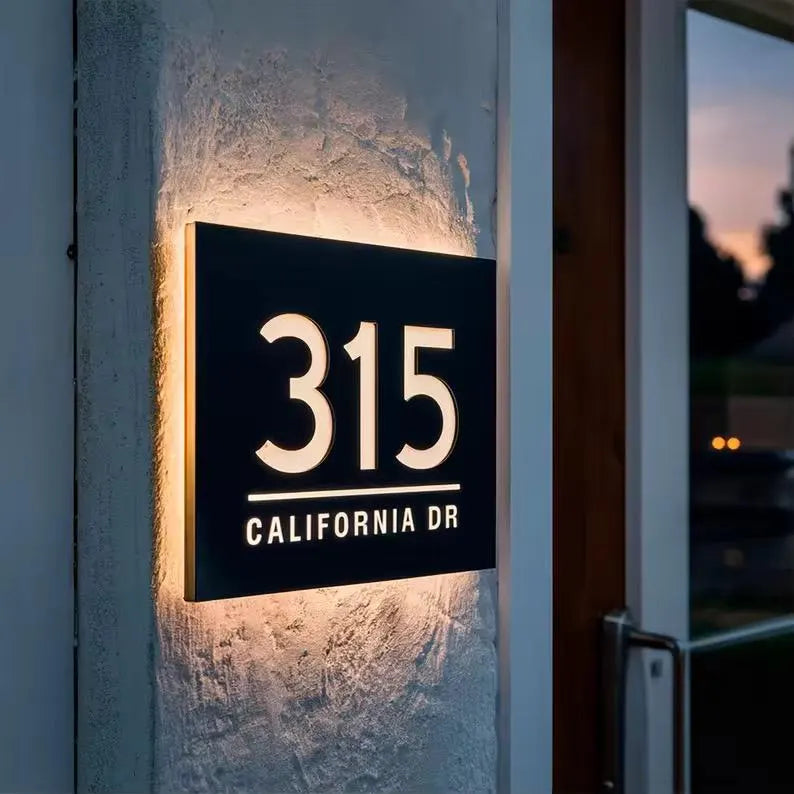
- Use an aluminum backplate for a sleek, modern look.
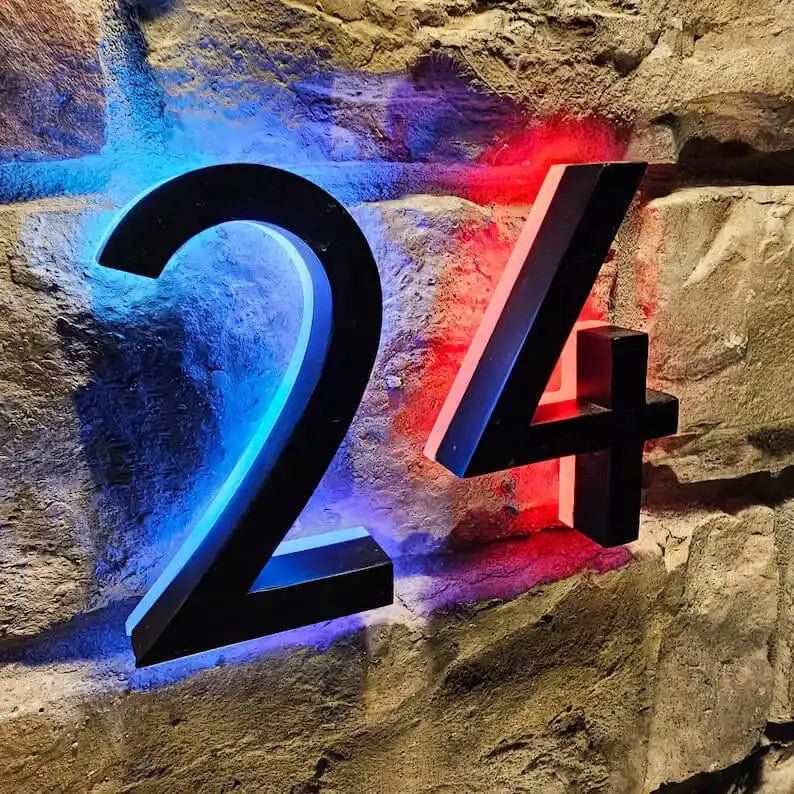
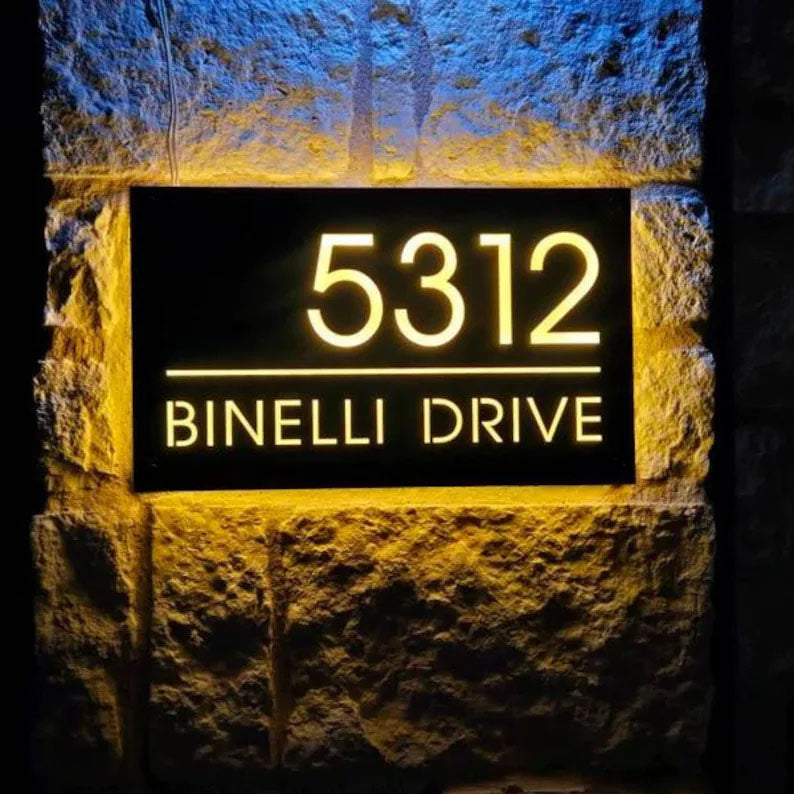
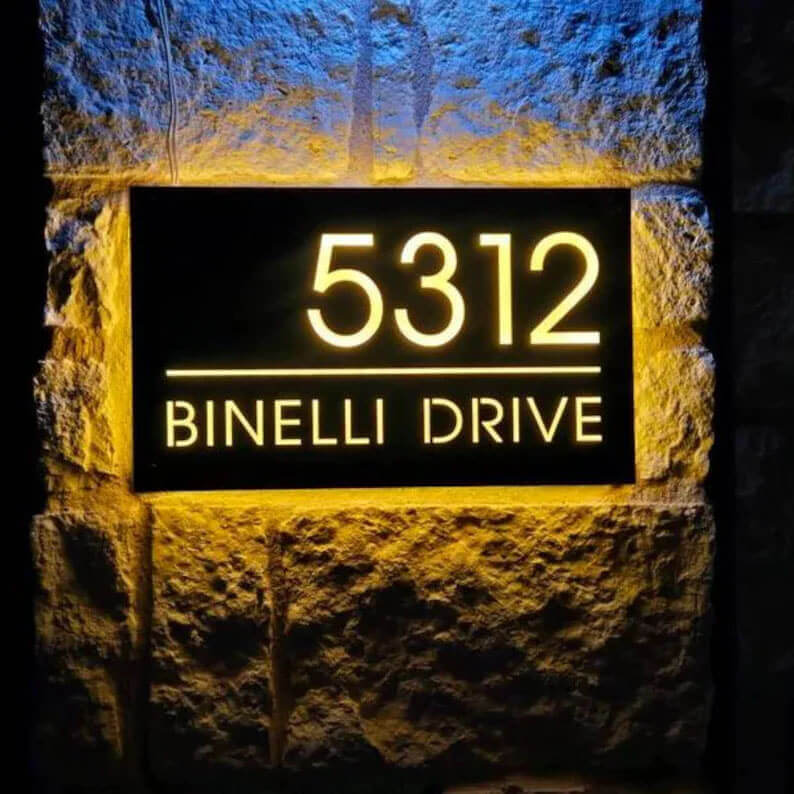
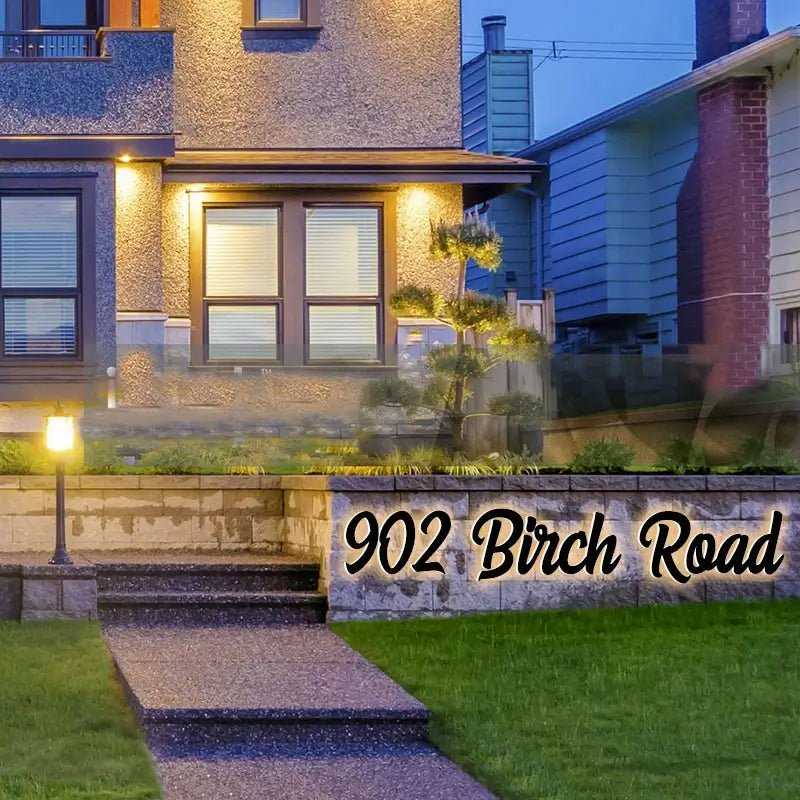
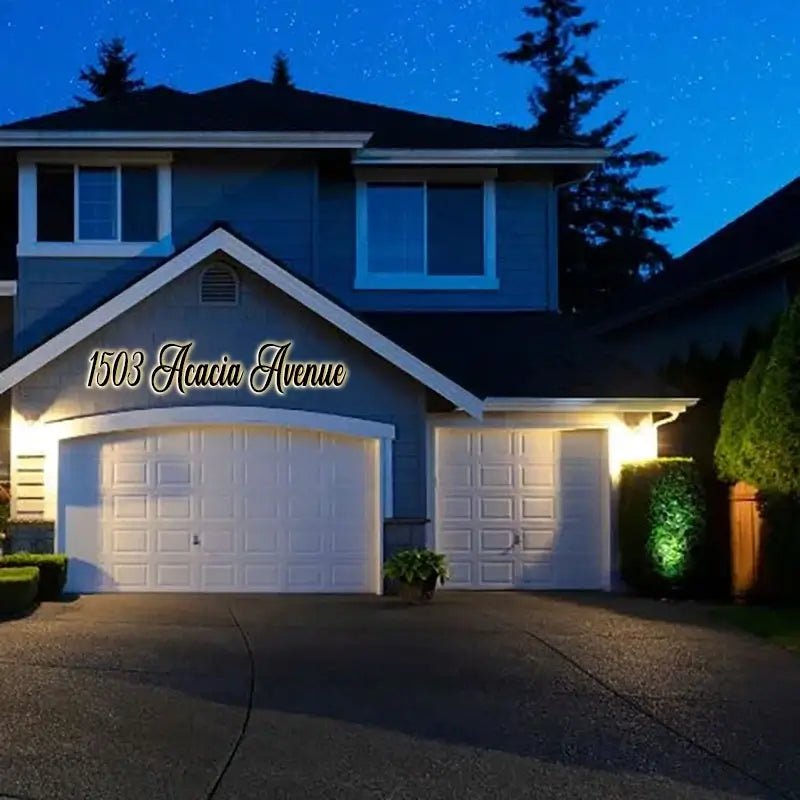
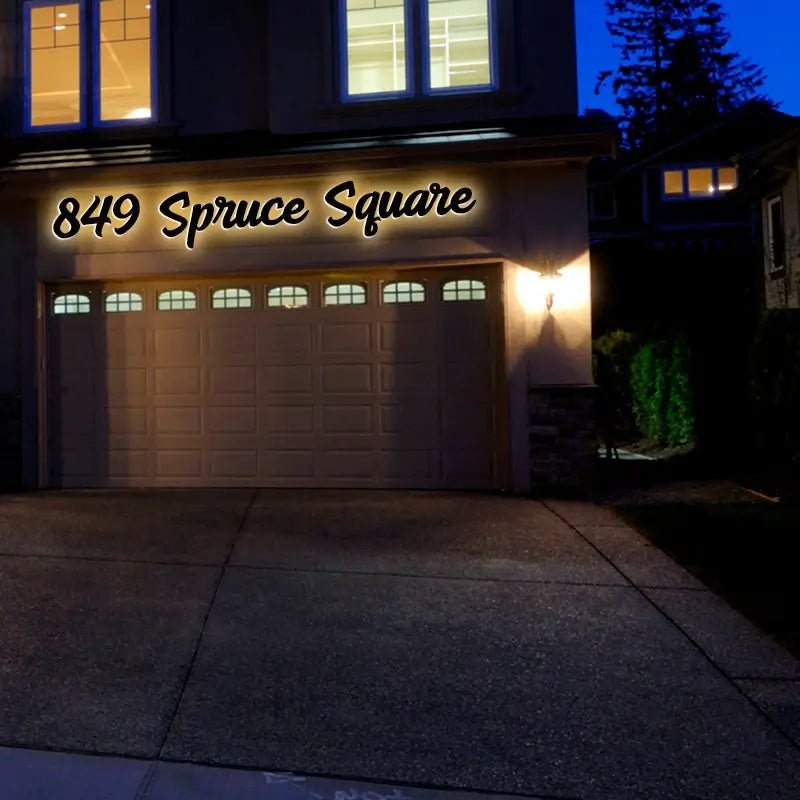
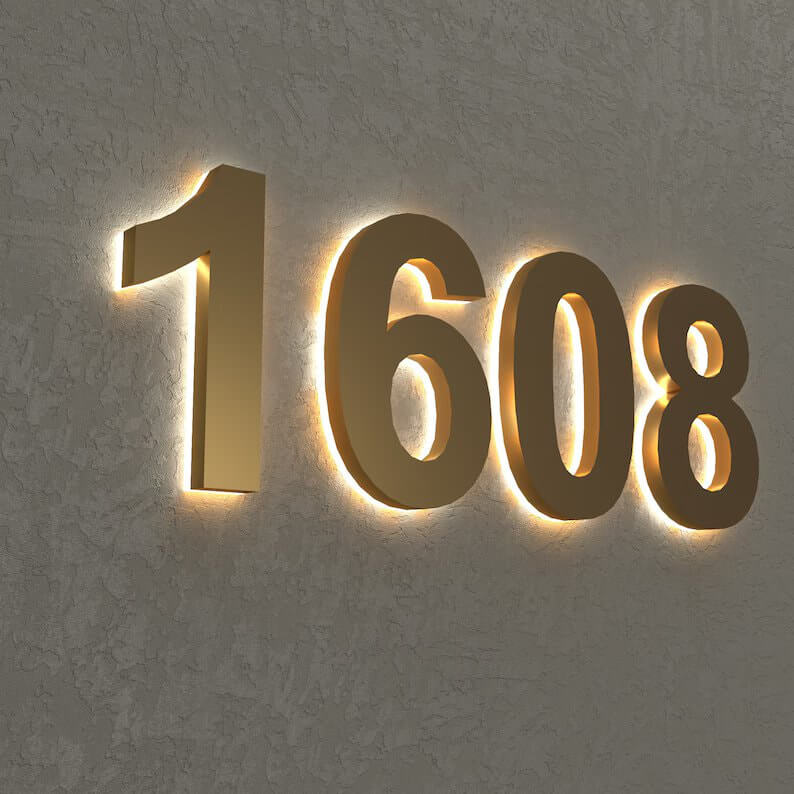
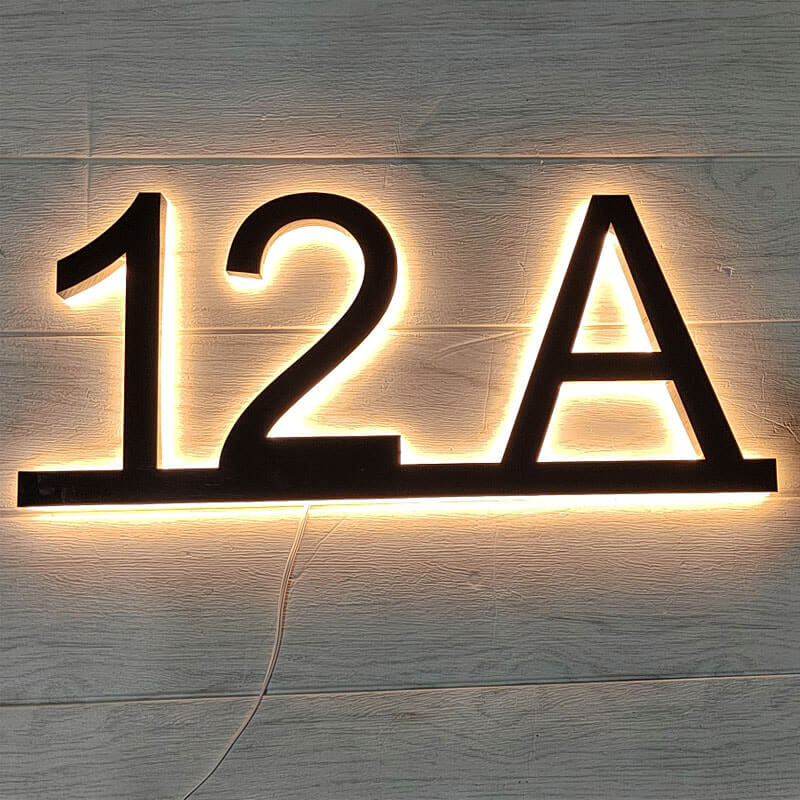
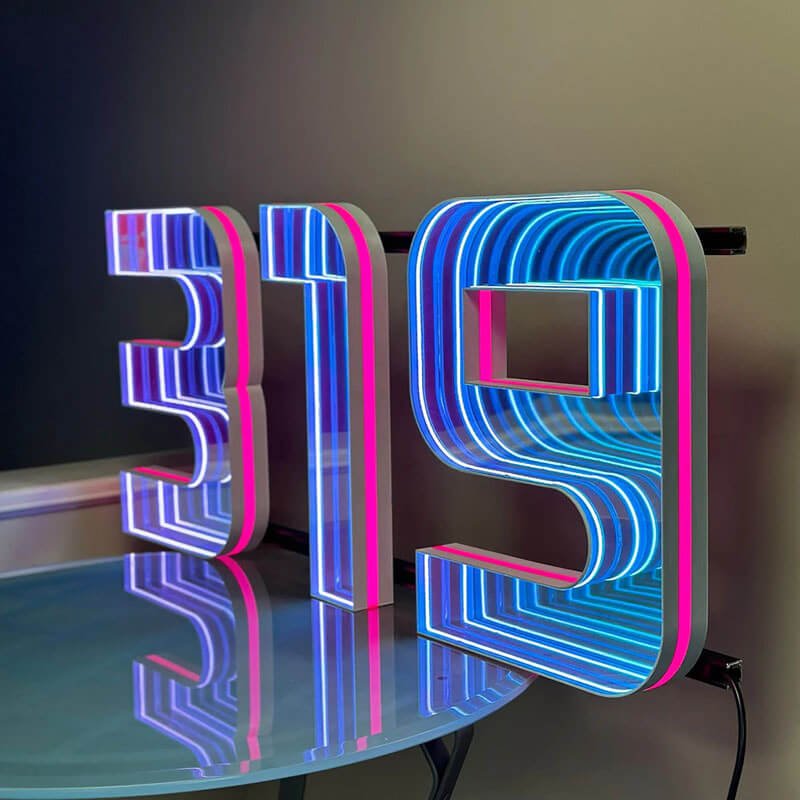
- Consider illuminated house numbers or reflective address plaques for added visibility at night.
- Match the style of your house numbers to your home’s architecture with options like brass, aged bronze, or black reflective house numbers.
✨ Tips for Maximum Visibility
- Place your house numbers in a well-lit area or near an outdoor light source.
- Choose contrasting colors (e.g., white reflective house numbers on a dark surface).
- For curbside visibility, use large reflective house numbers or reflective paint for curb applications.
✨ Where to Find Reflective House Numbers
You can find a wide variety of reflective house number products online or in-store. Check out options like:
- 3M Reflective House Numbers
- Metal Reflective House Numbers
- Reflective products at Lithousenumbersigns
For unique or custom designs, explore handmade options from specialty shops.
✨ Conclusion
Making reflective house numbers is a simple yet impactful way to enhance your home’s functionality and curb appeal. Whether you choose adhesive stickers, metal designs, or reflective paint, these numbers will ensure that your home is easily identifiable day or night. Ready to get started? Visit our website https://lithousenumbersigns.com/ for high-quality reflective house number products and inspiration!


